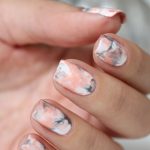
 For this marbled nail art tutorial you’ll need:
– Nail polish remover
– lint-free wipes or cotton pads
– an orangewood cuticle stick or cuticle pusher
– 180-grit buffer or a buffing block (the ones with 4 different sides)
– a 180-grit nail file
– base coat
– three contrasting nail polish colours of your choice
– top coat
– a mini striping brush (small paintbrush or clean eyeliner brush)
– cuticle oil and hand cream
Start off by prepping your nails. Remove any old polish, push back your cuticles, file your nails into the shape you want and then buff them lightly.
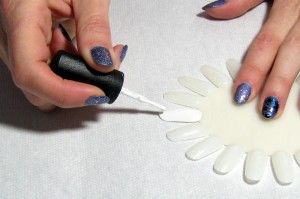
Cleanse your nails again with nail polish remover to remove any nail dust and natural oils that will have come to the surface of the nail. Apply a thin layer of base coat and cure it according to the instructions on your lamp (for gel) or wait for it to dry, if you’re using traditional nail lacquer.
Apply a thin coat of your chosen base colour, I’m using Artistic Colour Gloss in “Bride” (white) but you can use any light colour and make sure to cap the free edge. Cure or wait for it to dry.
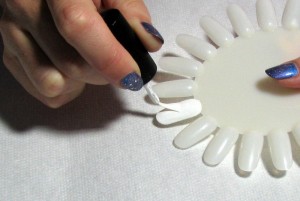
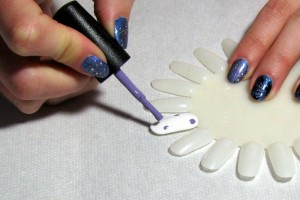
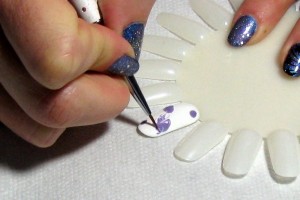
Apply a second, thin coat of your chosen base colour and while this is still wet (don’t cure or wait for it to dry), add a few dots of your contrasting colour. I’ve used Artistic Colour Gloss in “Rhythm” (lilac) instead of a peach colour as shown in the main picture. You can use any colour you like and this marbled effect works well with any colour combination, as long as you have light, medium and dark colours (or if you’re only using two, a light and a dark). You’ll want to add dots of your darker colour as well, before attempting to marble the polishes together, as traditional polish will start to dry, making the marbling difficult.
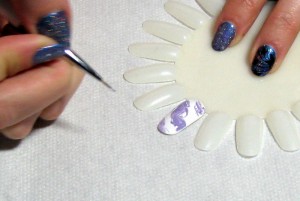
Note: I have marbled the lilac colour first (see pictures below), to try and show how to do the figure 8 motions and what the marbled effect should look like.
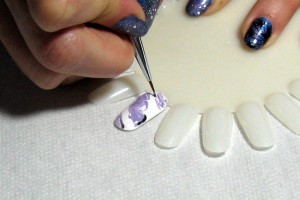
After you’ve placed your dots of polish onto the wet base coat, grab your mini striping brush, small paintbrush or clean eyeliner brush, dip the brush into your darkest nail polish colour (I’m using Artistic Colour Gloss in “Empowered”, which is a dark charcoal grey) and paint thin, random squiggly lines across your nails. Then using small figure 8 motions, gently start to blend the three colours together, creating a marbled effect.
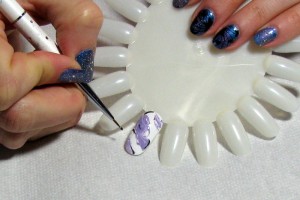
You need to work quite quickly if you’re using traditional nail lacquer and, with this technique, less is more. Meaning that the less you play with it, the better it will look. If you try to push it around too much, you may end up with a muddy coloured mess instead of a nice marble.
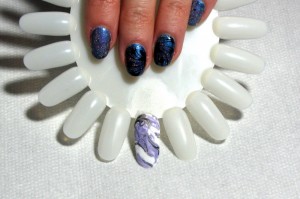
Once you’re happy with the effect, cure the polish or wait for it to dry. Apply your top coat and cure or wait for it to dry. Finish off your manicure by rubbing cuticle oil into your nails, cuticles and skin around your nails. Cuticle oil applied daily will nourish your nails and help your polish to last longer by keeping it flexible. Apply a little hand cream and you’re done.
If you haven’t already, please don’t forget to read my previous post “Maintaining your Manicure” for tips on how to keep your manicure looking good for longer.


Leave a Reply
You must be logged in to post a comment.