It’s nearly Halloween and I’ve been asked for a Sugar Skull nail art tutorial, after I posted my Halloween nail art wheels on social media last week.

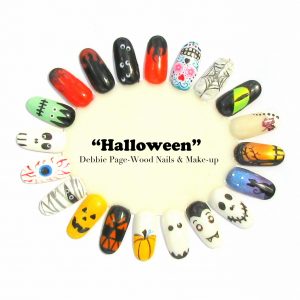
For this Sugar Skull tutorial you’ll need:
* Nail polish remover
* lint-free wipes or cotton pads
* an orangewood cuticle stick or metal cuticle pusher
* 180-grit buffer or a buffing block (the ones with 4 different sides)
* a 180-grit nail file
* base coat
* white nail polish
* contrasting nail polish colours of your choice (to decorate your skull)
* top coat
* a mini striping brush (small paintbrush or clean eyeliner brush)
* a dotting tool (or straightened out bobby pin)
* fimo (optional)
Start off by prepping your nails; remove any old polish, push back your cuticles, file your nails into the desired shape and then buff them lightly with the buffer..
Cleanse your nails again with nail polish remover to remove any nail dust and natural oils that will have come to the surface of the nail. Apply a thin layer of base coat and cure it according to the instructions on your lamp (for gel polish) or wait for it to dry if you’re using traditional polish/lacquer.
Apply a thin coat of white polish to your feature nail, making sure to cap the free edge. Cure or wait for it to dry. Apply a second, thin coat of polish and cure or wait for it to dry.
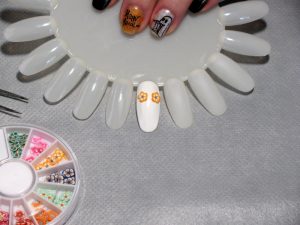
I used two pieces of thinly cut floral fimo for the eyes, which I glued on using nail glue. If you don’t have fimo, you can paint simple 5-petal flowers for the eyes using a dotting tool. To do this, place a single dot in the centre, to create the middle of your flower. Cure or wait for this to dry. In a contrasting colour, place one dot at the top of each centre dot, before placing the side dots and then the bottom two dots on each flower. Cure or wait for it to dry before continuing.
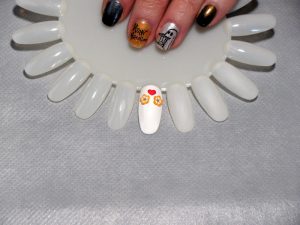
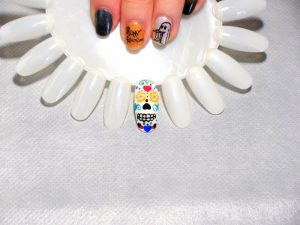
Paint a heart shape on the forehead (I used red polish for this), just above the centre of the eyes. The easiest way to paint a heart is to using a dotting tool. Place two small dots next to each other (with the edges touching in the middle of the heart, to create the rounded top of the heart), then use a small brush to quickly drag some of the polish down into a point at the bottom and fill this in.
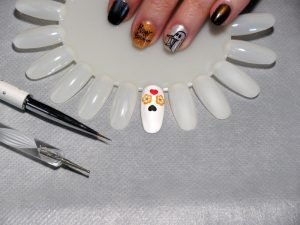
Paint an upside down heart under the eyes, to create the nose (I used black polish for this). Cure or wait for the polish to dry, depending on the type you’re using.
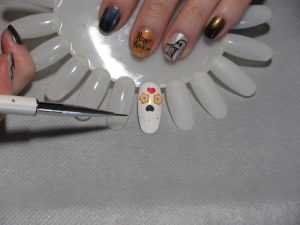
Next, take your mini striping brush or small paintbrush and place three tiny dots where your want the mouth to be. One dot in the centre, and one dot at each outer edge.
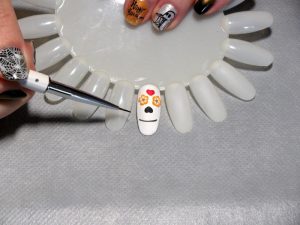
Join the dots together to create the stripe between the top and bottom teeth.
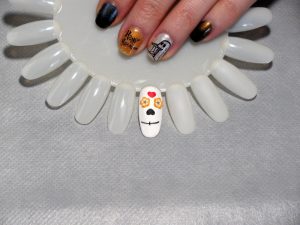
Mark out the middle of this line, where you want the middle of the front teeth to be.
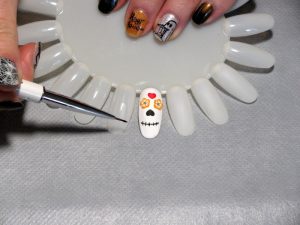
Create marks for the rest of the teeth.
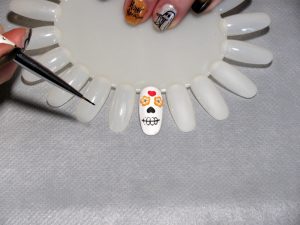
Start joining the lines together with curved arches in varying sizes to create teeth.
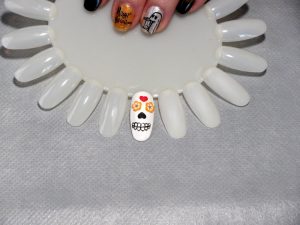
Go over this again, if you need to, to create a slightly thicker line. Cure or wait for it to dry.
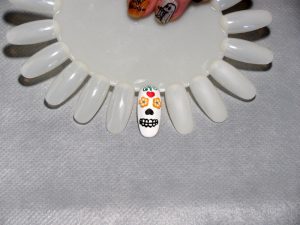
Start decorating your sugar skull with contrasting colours, by creating swirls with a mini striping brush or small paintbrush.
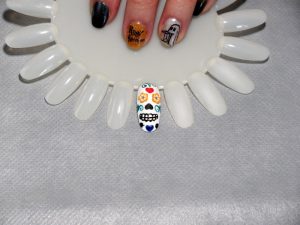
Add hearts, dots, flowers, stripes, or whatever you feel like, to decorate the rest of the gaps on your sugar skull. If you want, you can even add dots or stripes for eyebrows, extend the nose upwards with a few dots, or even add diamante and other embellishments, if you have them. Cure or wait for the polish to dry.
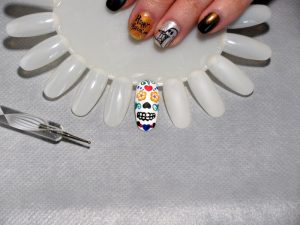
Apply your top coat and cure or wait for it to dry, before finishing off your manicure by rubbing cuticle oil onto your nails, cuticles and skin around your nails. Cuticle oil applied daily will nourish your nails and help your polish to last longer by keeping it moisturized and flexible. Apply a nourishing hand cream and you’re all done.


Leave a Reply
You must be logged in to post a comment.